Friday 28 December 2018

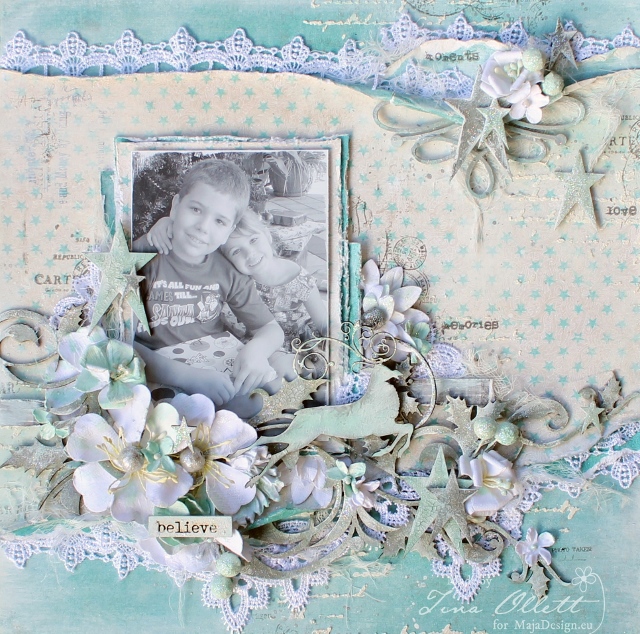
Believe - Tina Ollett

Welcome and hello friends. I'm back with you today to share with you yet another Christmas project.
Well it is that time of the year when I get behind on absolutely everything including my Design Team work. And if I can use the quote "to kill two birds with one stone" that is exactly what I have done to ease my workload for this week. I have combined my Design Team work for Maja Design with the Dusty Attic using inspiration from the Dusty Attic Moodboard for this month. Have a look for yourself below. It is STUNNING to say the least. Remember you have till the end of this month to participate in the challenge. 
For more information on this click here.

And my project inspired by the December moodboard.....

"Believe".
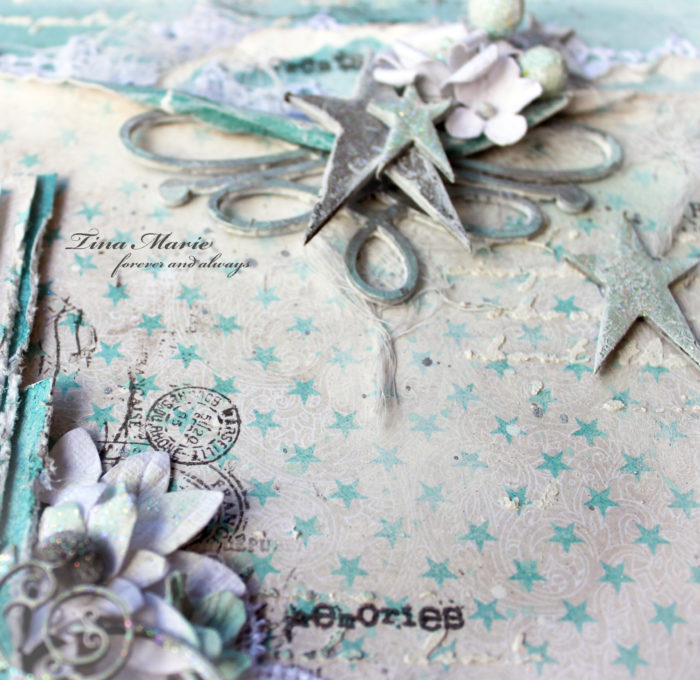
My layout started with just three pieces of Streetwear from the Denim and Friends collection. I used the teal green for the base and tore the second piece using the opposite side with stars. I simply tore a section top and bottom and then roll sections after distressing and sanding my papers.
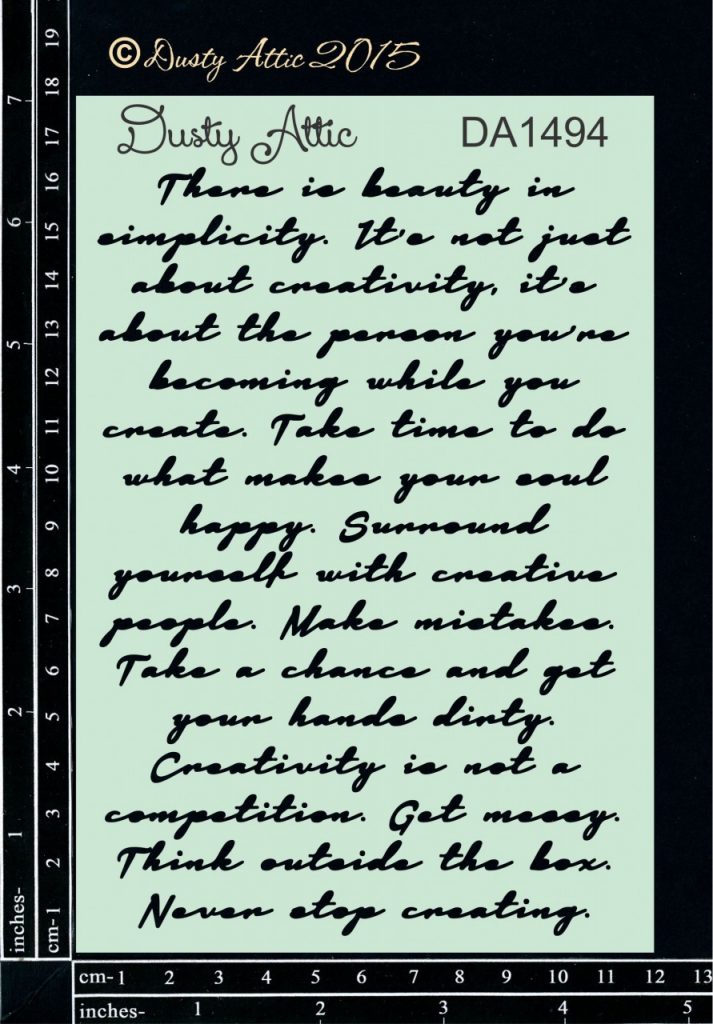
I also added in a little stamping on my project and I added in some textures with Grainy Texture Paste through the Dusty Attic Creative Script Stencil and also splatters of acrylic white paint.
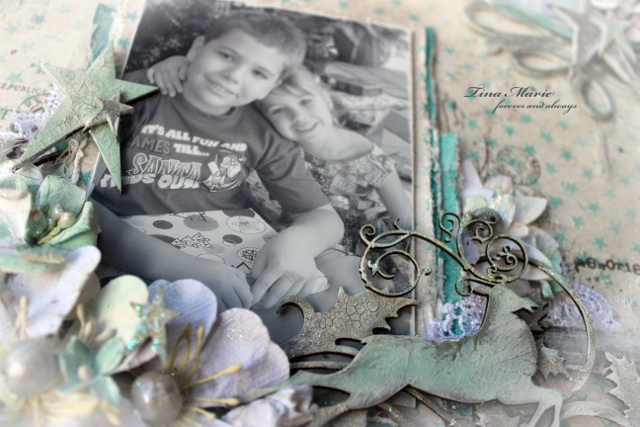
Once my background was finished I then used the leftover papers to create some matting base for my 4 x 6 portrait black and white photo. You can see above the layers of Streetwear used to do this above.
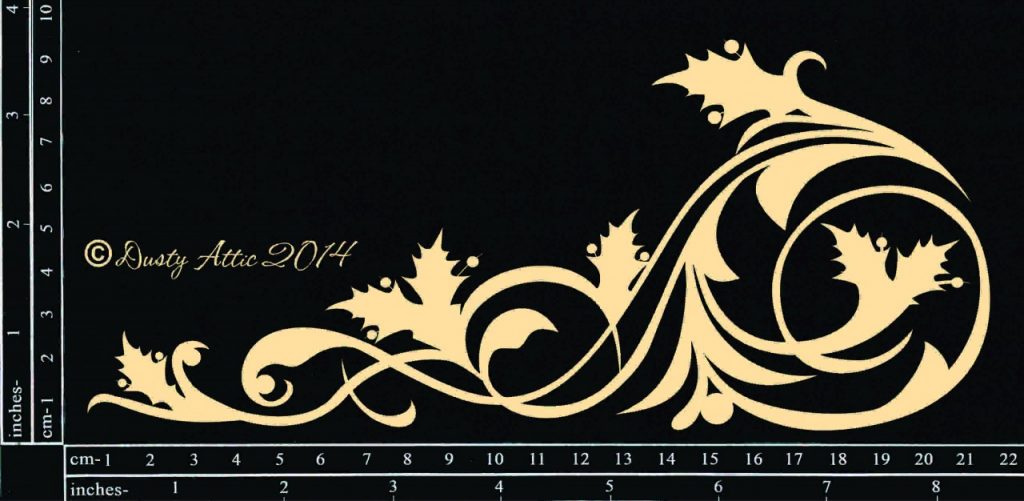
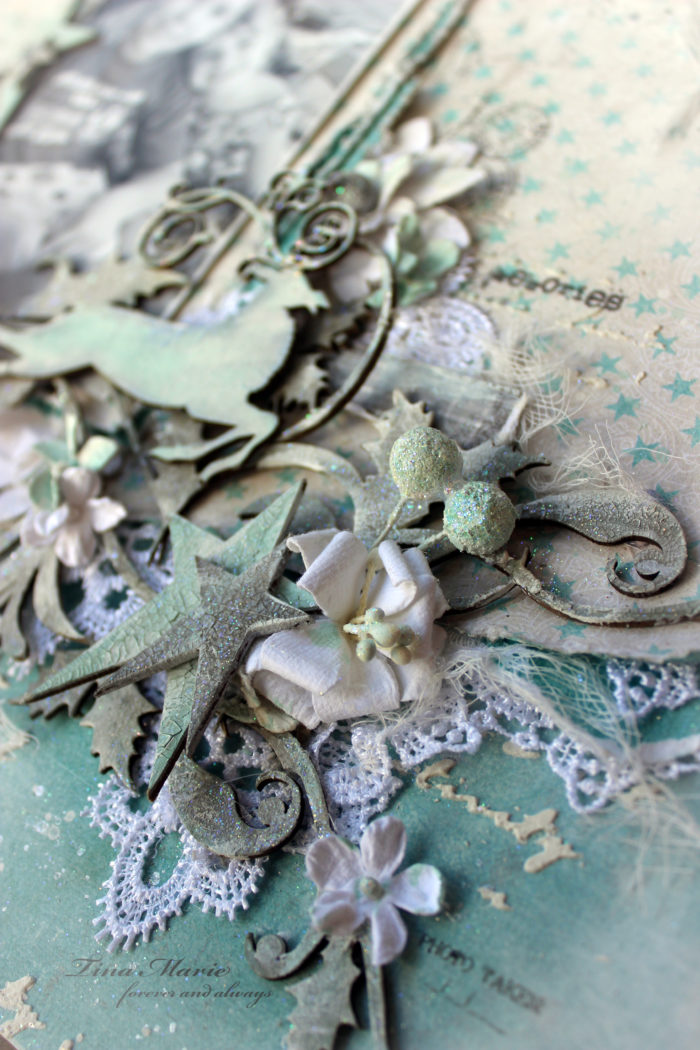
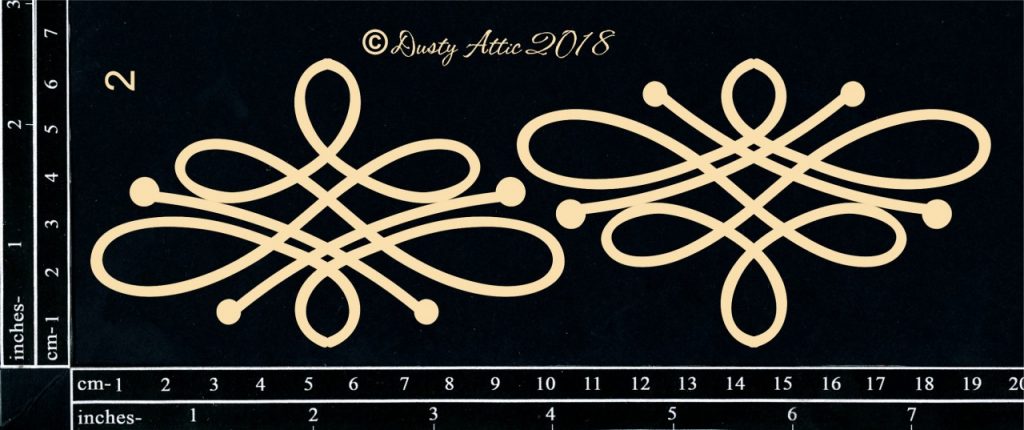
Above you can see part of the Holly Flourishes. These were inked in silver coated with Crackle Varnish, and sprinkled with Star Dust Powder. I used two pieces of the Holly Flourishes for this project. The second piece was cut to make an extension of the first.
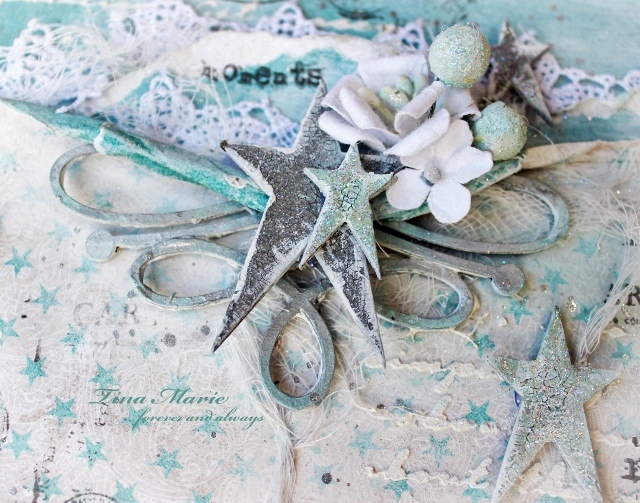
I used distress inks mixed with gesso to colour my flowers. My Dusty Attic chipboards were dressed similarly. Some I then went on to cover with Dusty in Colour Clear Crackle Varnish and waited for it to dry. You can see above and below the Stars #2 used for this project were dressed likewise. I used a variety of the different sized stars and mixed the colours up alternating between silver and the mint. When the crackle varnish dried I then wiped it over with gesso and added a sprinkling of Star Dust powder.
[gallery grids="News" image_size="large" columns="2" size="medium" ids="2168,2164"]
The Iron Accent #2 was used to help prop up the stars and give them more of a base to sit upon. This piece was painted with acrylics silver and mint and dry brushed with white acrylic paint.
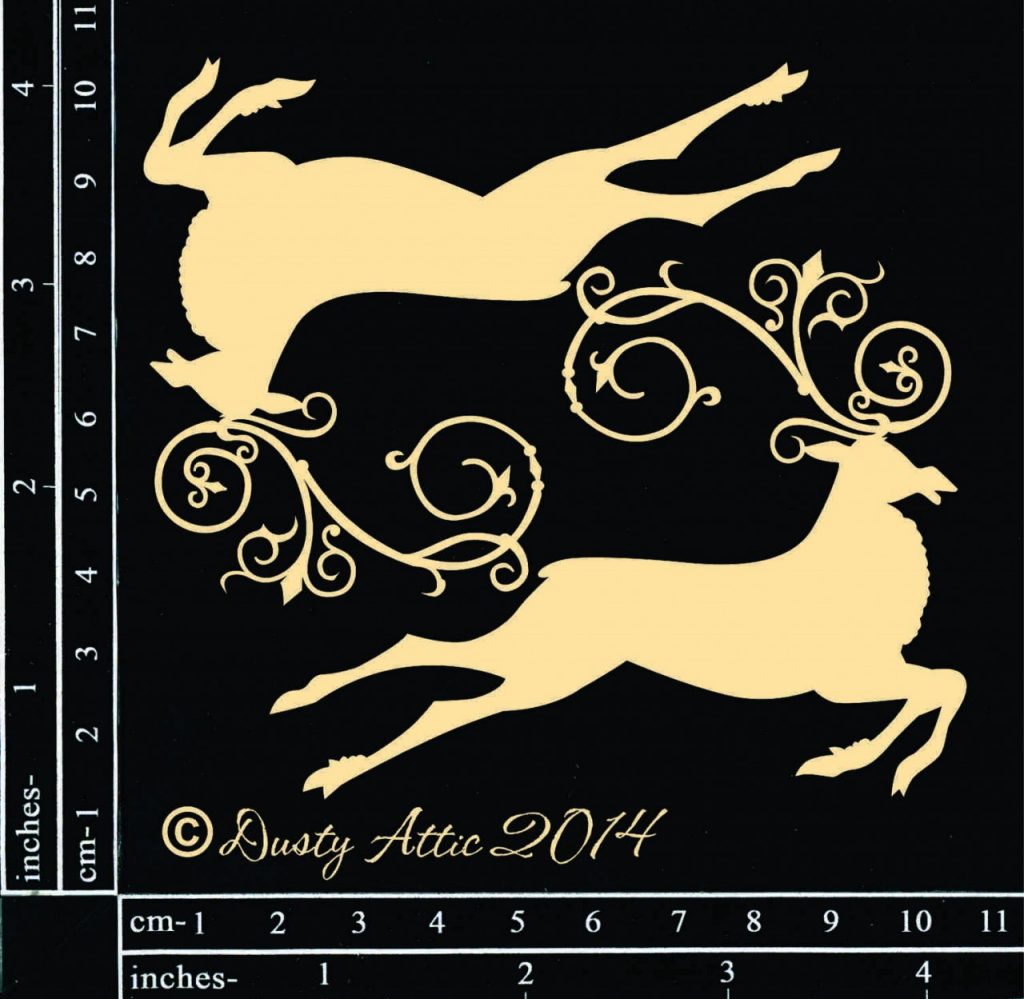
The reindeer was dressed similarly to that of the Iron Accent #2. I love these reindeer! They are just beautiful.
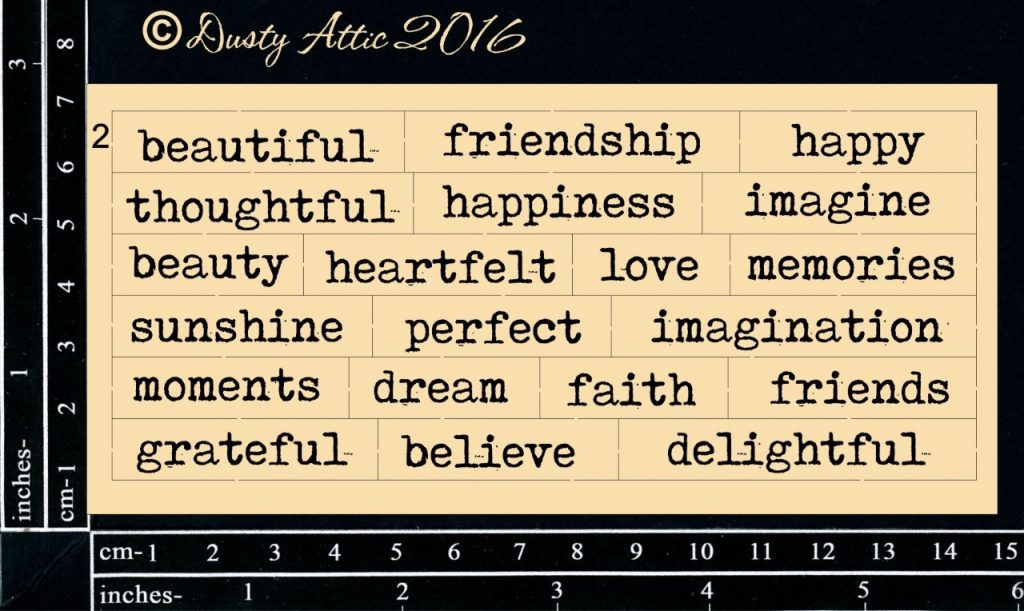
And of course my title was a tile from the Wordpl@ay #2 Chipboard Sheet. (believe).
I used some beautiful 49andMarket flowers to help complete my layout. They were:
[gallery grids="Fancy" image_size="large" columns="2" size="medium" tiles="true" ids="525,793"]
I decided at the very end of my project to add in some gorgeous laces. It just seemed a little empty without pops of white. I also added in a little distressed muslin.
Well that is all from me today. I do hope you enjoyed my post. I would like to take this opportunity to wish you all a very safe and merry Christmas. I hope Christmas brings all the special things your heart desires.
Until next year take care and thankyou for stopping by.

Thursday 27 December 2018

Winter Time - Nicole Doiron - Mood Board Inspiration

Hello Dusty FANattics!
It's Nicole and I want to share with you
my take on the December mood board challenge.
Here is the festive December mood board, perfect for this time of year.
The colours and images of this board inspired me to do a sparkling Wintery page of a December stroll in the woods. I created the title working with the word JOY on the patterned paper and a piece from the Wordplay #9 set and decorated it with some Mini Holly #2 and a large Holly #2.
I also used the Doily #5 set as they appear as beautiful snowflakes to go along with the theme. 
I started off by covering them with 2 different shades of embossing powder and then added some Dusty in Colour Capri and a little bit of white shimmer acrylic paint.
A few of the Mini Snowflake Disks in white seemed perfect to adorn my page along with golden accents with pieces of the Diamond Panel and some Mini Stars.
Here is one last look at this page of 'Winter time joy'!
These are the Dusty Attic chipboard pieces that I used.
Chipboard
Mini Holly #2 - DA0186
Holly #2 - DA0111
Mini Snowflake Disks - DA1677
Doily #5 - DA0763
Diamond Panel - DA1216
Mini Stars - DA1040
Wordplay #9 - DA1704
Dusty in Colour
Capri - DA0915
Embellishments & Accessories
Bling - DA1544
Check out the Dusty Attic website to see lots more gorgeous chipboard designs!
Before I go, I want to take this opportunity to wish each and every one of you 
Happy Holidays and an awesome New Year. See you back in 2019!!

Christmas - Rosalie Duke-Stanley - Mood Board Inspiration


Hello everyone, this is my last Dusty Attic project for 2018 and as it is Christmas, I have decided to go red red red and white. I love the traditional red and white combination of Christmas colours even though here in Australia we have a hot Christmas day.


I started with choosing pale patterned paper so that the red and white would pop on the page. Clear gesso the page and while drying, prepare the chip board. The foliage and tree were painted using Nuvo white crystal drops. It gave a luscious shiny 3 dimensional look. While drying, sprinkle 'dress my craft' frosted sugar powder on the foliage to give it a icy look. 

The flowers were sprayed with Lindy Stamp Gang Peony red spray for a soft red colour. The flowers used were a buttermilk colour so for the white ones, I used Lindy Stamp Gang Frozen Jack Frost shaker and dabbed on the flowers to add a white effect. Once the flowers were dry, I added sugar powder to the centres to add more icy frosted texture. 

Using red card stock, cut out a photo mat and adhere with foam tape or spare chip board pieces to add height to the layout.  

Add a painted trail of Lindy Stamp gang spray along the top and bottom of photo mat and turn page up side down back and forth to form trails - Dry. Add all of the foliage and flower embellishments and photos. Using white cotton, add amongst the flowers and leaves snip so that it makes tendrils out from the main layout feature. Add more on the last photo mat which will feature the tree. Once the cotton is added, carefully add drops of Nuvo white crystal drops along the cotton to form some texture. Add some drops to the page where there might be a gap between flowers and leaves. Tip: you will need time form the crystal drops to dry as heat gun drying may ruin the shiny look of the drops. 

To finish off, add the Christmas tree, sprinkle sugar powder amongst the branches and red mirco beads on the main red drips. 

I hope you enjoy and I would love to hear form you in the comments bar of my blog. 


Treasure - Joanne Bain - Mood Board Inspiration

Hi Everyone!!

Joanne here sharing my latest creation created for the gorgeous Dusty Attic December Mood Board Challenge. The challenge gives you the chance to win one of two $50 Dusty Attic Gift Vouchers. To enter you simply need to use the Mood Board for Inspiration, you can interpret it anyway you like. The only requirement is that Dusty Attic chipboard is used in your creation. Once completed simply add your link to the right side bar of the Dusty Attic Blog.

So this is the December Mood Board.


So pretty and festive...

I chose to create a shabby altered paintbrush for my interpretation of the mood board.

'Treasure'


There is silver on the tips of the flowers but it I couldn't get it to show up in the photos no matter how hard I tried. The paintbrush represents for me two of my favourite things in life art and my kids.


To create the centrepiece of the brush I have used multiple pieces of Dusty chippy.


I started with one of the wings from the Wings #3 set, I then added some mini scrolls #2 and mini cogs.


To frame my photo I cut away the cog centre from the small heart of the Industrial Heart set and I backed it with the medium sized wings from the Wings #1 set.


I added some mini cogs because they are one of my favourite pieces of chippy. For my title I cut away the edges of one of the word tags.


To finish off I then added a sprinkling of mini butterflies and art stones. I added some coloured cheesecloth to add some more texture and softness to the brush.

Dusty Attic
Materials List
DA0499 Wings #1
DA2177 Wings #3
DA1953 Industrial Hearts
DA0750 Mini Scroll #2
DA0689 Mini Cogs
DA0893 Mini Butterflies
DA1817 Word Tags #2


Dear Santa - Belinda Spencer

Hello Dusty Attic fans!

Belinda here with you today to share my layout inspired by the stunning December mood board. 

'Dear Santa'


I super love the colours this month. Blue (or aqua to be more precise) is my favourite colour so this was an easy one for me to work with. I started with a bllue patterned paper base and added some stencilling with the Confetti #2 Stencil and some heavy white gesso. I also used a white paint pen to flick some more spots across the layout.


Next I tore the ends from the Filmstrip border and painted it white using the heavy white gesso. Once dry, I stapled it onto the layout where the staples would be hidden.


I layered on some co-ordinating patterned papers and a sweet doily. I coloured the Polaroid Frame with the heavy white gesso also and glued it onto my photo. I trimmed the photo around the edges and added it on top of the paper layers.


How cute is that 'Naughty or Nice' Postmark?!! My darling daughter in the photo could have gone either way!! She has THAT look on her face. Thank goodness she is well and truly past the tanty stage!! LOL I used a gold paint pen to colour the postmark as well as the 'santa' in my title and the cute Mini Stars.

Dusty Attic products used:


Thanks so much for stopping by the blog today. I hope you have a wonderful and safe Christmas and find some time to scrap over the Christmas break.

Cheers
Belinda